October 5, 2023
3 Easy Steps to Making a Pumpkin Bong That Actually Works
Autumn is here, and it's time to embrace the spirit of the season with a creative twist on your smoking experience. Making a pumpkin bong is a fun and unique way to enjoy your herbs, and it's surprisingly easy to do. In this quick guide, we'll break down the process into three simple steps, so you can create your very own pumpkin bong without any hassle.

Step 1: What You'll Need
Before you start crafting your pumpkin bong, make sure you have all the necessary materials ready. Here's what you'll need:
A medium-sized pumpkin
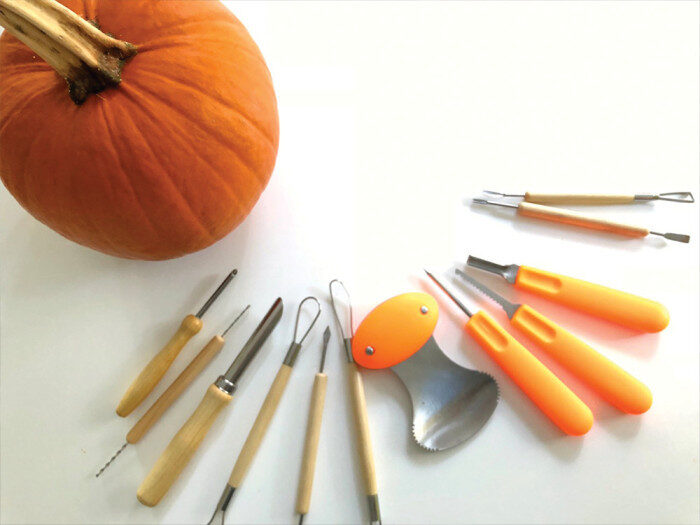
A sharp knife or pumpkin carving tools
A small glass or metal bowl piece (for your herbs)
A downstem (available at smoke shops or online)
Aluminum foil
A poker or skewer
A lighter or matches
Your favorite herbs
Now that you have everything you need, let's move on to the first step.


Step 2: Carving Out The Pumpkin
This step involves preparing the pumpkin to serve as the main body of your bong. Follow these easy sub-steps:
a. Select the Right Pumpkin:
Choose a medium-sized pumpkin that's relatively symmetrical and free from any major blemishes or soft spots. A flat base is ideal to ensure stability.
b. Create the Lid:
Using a sharp knife or pumpkin carving tools, carefully cut a lid from the top of the pumpkin. Make sure to angle the knife slightly inward to prevent the lid from falling into the pumpkin when you're finished. Set the lid aside; you'll need it later.
c. Clean the Inside:
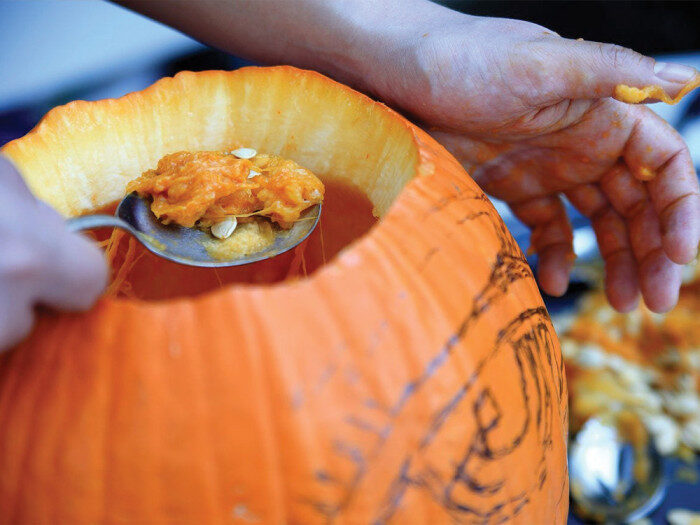
Reach inside the pumpkin and scrape out all the pumpkin guts and seeds. The cleaner the interior, the better your pumpkin bong will function.


Step 3: Turning This Regular Pumpkin Into The Life of the Party
Now that your pumpkin is prepped, it's time to turn it into a functioning bong.
Follow these final steps:
a. Create the Bowl Hole:
Determine where you want to place the bowl piece on your pumpkin. Traditionally, this is near the front, but you can choose your preferred location. Trace the bottom of your bowl piece onto the pumpkin's surface and carefully carve out a hole using a knife or carving tool. Ensure the hole is just large enough for a snug fit.
b. Insert the Bowl Piece:
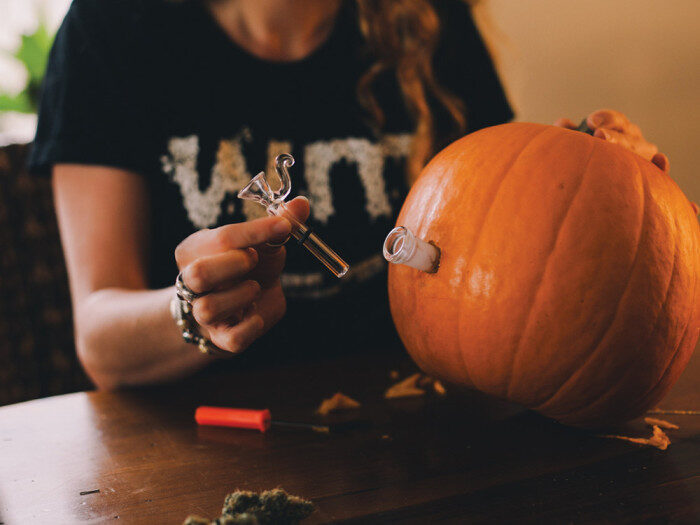
Insert your small glass or metal bowl piece into the hole you created. It should fit securely, with the bowl piece extending slightly into the pumpkin's interior. If it feels loose, wrap aluminum foil around the base of the bowl piece to create a tighter seal.
c. Create the Downstem Hole:
Choose a spot on the side of the pumpkin, slightly below the bowl piece, for the downstem hole. Trace the bottom of your downstem onto the pumpkin and carve a hole that's just large enough for a snug fit.
d. Insert the Downstem:
Insert the downstem into the hole you created, making sure it extends into the pumpkin's interior. Trim the downstem if it's too long using a hacksaw or sharp scissors. The downstem should be angled upwards when the pumpkin bong rests on a flat surface.
e. Create the Carb Hole:
To allow air to flow through your pumpkin bong, create a carb hole on the opposite side of the downstem hole. Use a poker or skewer to carefully create a small hole. Begin with a small hole and enlarge it as needed for the desired airflow.
f. Add Water:
Pour enough water inside the pumpkin to submerge the bottoms of the downstems.
g. Place Lid Back On-Top of the Pumpkin
h. Enjoy!


Now that you have your own custom Pumpkin Bong, do you need some weed to put in there?
We're happy to offer free weed delivery in the Niagara Region 😊
Order online at www.GardenCityCannabisCo.com
Or stop by any of our stores ????
111 FOURTH AVENUE, UNIT 9 St. Catharines, Ontario (905) 397-4207
310 GARRISON ROAD, Fort Erie, Ontario (905) 871-4420
623 NIAGARA STREET, Welland, Ontario (289) 820-8432
469 EAST MAIN, Welland, Ontario (289) 820-6370
Join our mailing list to receive exclusive details on new arrivals, product recommendations, sales, discounts, events and more.
111 Fourth Avenue, Unit 9
St. Catharines, Ontario
(905) 397-4207
310 Garrison Rd
Fort Erie, Ontario
(905) 871-4420
623 Niagara Street
Welland, Ontario
(289) 820-8432
469 East Main St
Welland, Ontario
(289) 820-6370


